You have no items in your shopping cart.
MEET the Founders & Team
Mike and Joylynn Jelliff, the founders of GeekStands.com as well as musicians. They are owners and users of the products GeekStands.com sells.
Learn about us!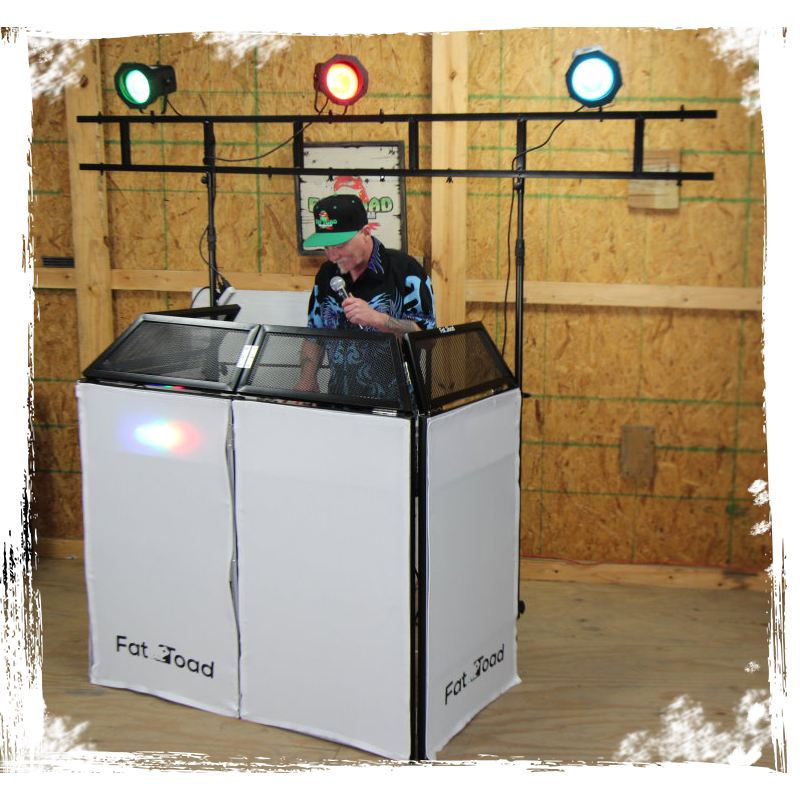

04
Oct

Image from Smush CDN
What’s not to love about live performances?
They enthrall the crowd with their unfiltered rawness and the profound connection forged between performers and spectators. You can’t recreate that kind of palpable energy and connection just anywhere.
Not to mention the raw authenticity. There are no do-overs or edits. You just roll with the music and pour your heart and soul into the performance.
Setting up for a live performance, however, is more than just placing a few speakers and instruments here and there. You must create an atmosphere that enhances your live sound and captures the soul of your music, leaving the crowd craving more.
Today, we’ll share the secrets for an exceptional stage setup. Get ready to rock the stage like a true star as you learn:
- The importance of acoustics and how to optimize sound quality in a live performance space
- Strategies for positioning and organizing their live performance equipment, from instruments to public address (PA) systems and DJ gear
- The role of Geek Stands products in elevating your stage setup to new heights
1 - The Perfect Harmony: Mastering the PA System Placement

Room acoustics can make or break the whole gig. You want your audience to be immersed in a sonic wonderland, not drowning in a sea of muddled noise. As such, considering how sound behaves in a performance space is crucial for any live performance.
The size and shape of the room are the silent conductors of the symphony that is your live performance setup. They hold the key to optimal speaker placement, microphone placement, and mixer placement.
For instance, an enclosed venue is more likely to reflect sound more since it has a larger surface area. This can cause multiple paths of sound arrival, leading to echoes, reverberation, and a prolonged decay of sound.
To prevent this, you may need to place acoustic panels on the walls and consider a different speaker and mixer placement.
On the other hand, an open space has limited sound absorption, as there are no surfaces to absorb the sound waves. This results in a livelier, less controlled sound environment compared to an enclosed room with walls.
Let's explore how to arrange your PA system to make your show sound out loud, regardless of the performance space.
Speaker Placement

When positioning your speakers, the goal is to ensure everyone in the audience can hear the music loud and clear, all while keeping the dreaded microphone feedback screeches at bay.
To achieve this, place the speakers on either side of the stage. This way, the music flows directly to the audience, ensuring that every fan gets a taste of the sonic feast.
Here are some more tips to help you hit the speaker placement sweet spot:
-
Keep the speakers close together: This will ensure the sound reaches the audience in real-time, without any annoying echoes of time-travel shenanigans.
Make sure each speaker has its own territory for a balanced sound coverage throughout the venue. In general, the ideal distance between speakers is 4 – 8 feet of each other.
-
Place the monitor speakers on the floor: This way the speakers can act as the band's musical compass.
Make sure to position one smack-dab in the center of the venue. This will allow the sound to spread evenly, making everyone feel like they're part of the epic sonic experience.
-
Consider the direction of the wind: If you’re performing in an open space, the wind can wreak havoc on your sound by blowing it around like a leaf in a storm.
To keep your sound steady and unwavering, position the speakers upwind. This way, the wind becomes your ally, allowing the music to travel smoothly through the air and reach the eager ears of the crowd.
Improve the sound quality and dispersion by placing the speakers on speaker stands.
Elevating the speakers ensures they can be aimed more accurately toward the audience. This enhances the sound dispersion and coverage as the sound can effectively reach over obstacles, minimizing the risk of uneven sound distribution or dead spots.
Placing speakers on stands also helps minimize interference and reflections caused by nearby surfaces.
When speakers are placed directly on the ground or stage, the sound can bounce off the floor, walls, or other objects, leading to unwanted reflections and phase cancellation.
By raising the speakers above potential reflective surfaces, the sound propagates more directly and reduces the impact of unwanted reflections.
What’s more, speaker stands offer more flexibility in terms of speaker placement and adjustment. You can easily reposition, angle, or move the stands to optimize sound coverage based on the venue and audience layout.
Speaker stands with adjustable height or tilt allow for precise alignment and customization of the speakers’ position, ensuring the best possible sound projection and dispersion.
The table below provides recommendations for speaker placement based on the size and layout of the performance space:
| Room Size | Recommended Speaker Locations | Coverage Angle | Distance from Audience |
| Small | Left and right of the stage | 90 degrees | 4 – 8 feet |
| Medium | Left, center, and right of the stage | 120 degrees | 6 – 12 feet |
| Large | Left, center, and right of the stage, elevated on speaker stands | 180 degrees | 10 – 16 feet |
| Outdoor | Left and right of the stage, upwind | 90 degrees | 10 – 20 feet |
| Auditorium | Left and right of the stage, elevated on speaker stands | 120 degrees | 8 – 14 feet |
| Conference Room | Left and right of the stage or main area | 90 degrees | 6 – 10 feet |
Elevate your live sound setup to new heights with PA Speaker Stands from Geek Stands.
The stands are adjustable, allowing you to customize the placement of your speakers for an ideal sound.
Our pro-audio speaker stands have a robust construction, providing a stable platform for speakers. This allows for optimal sound quality and projection that ensures your performance is unforgettable.
Some of the speaker stands available at Geek Stands include:
- The T-Adapter Bar and DJ Booth Trussing System
- Wall Mount PA Speaker Brackets
- Guitar Amplifier/Speaker Monitor Stands
“I tried it out of the box and for my playing style it was more than adequate. Heavy duty design, and a price that is way below competition. This remote hi hat system is beyond worth its value. I can't praise this company enough for the quality of product they put out.” Adaugo Leonard on the Guitar Amplifier/Speaker Monitor Stand
“These wall mount speaker stands are super heavy duty. They also allow you to tip the speaker downward in several steps. Very stable construction and easy installation. Super price and speedy delivery.” Rman415 on the Wall Mount PA Speaker Brackets
Bonus Tip: Still not convinced? This guide outlines three reasons why you should buy the GRIFFIN wall mount brackets.
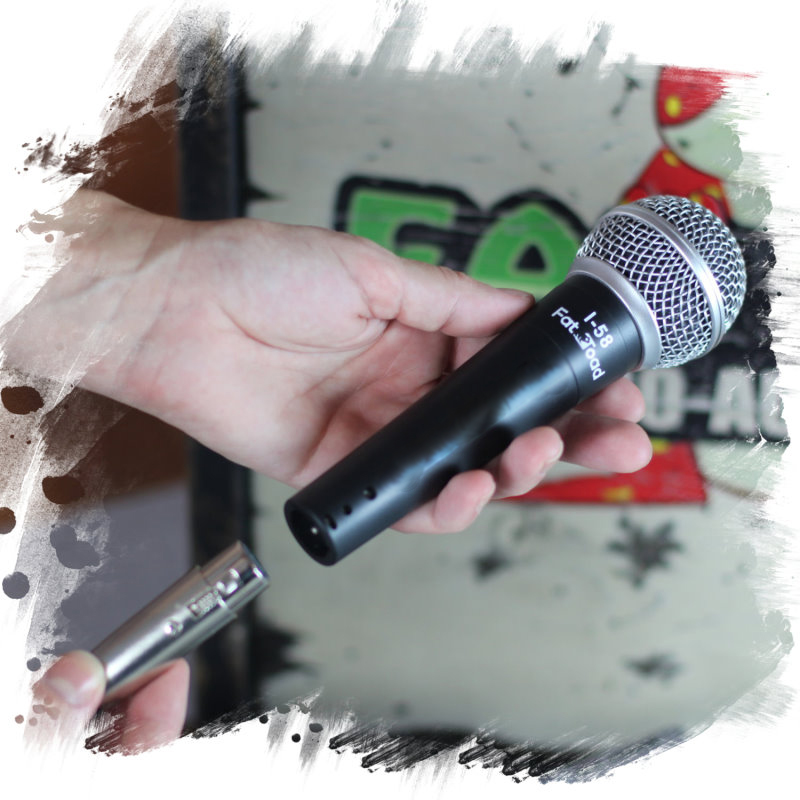
Microphone Placement
Microphone placement is a crucial aspect of live performances.
You must ensure your mics are placed in a manner that avoids microphone feedback, which can send the crowd running for the hills.
To avoid feedback, keep microphones behind the speakers. This ensures the mics won't pick up the amplified sound coming from the speakers, sending them into an endless loop of feedback chaos.
You should also ensure the mics are placed at an appropriate distance from the sound source to avoid a weak or distant sound. For instance, for vocals, position a large diaphragm condenser microphone 4 – 6 inches (10 – 15 cm) from the mouth.
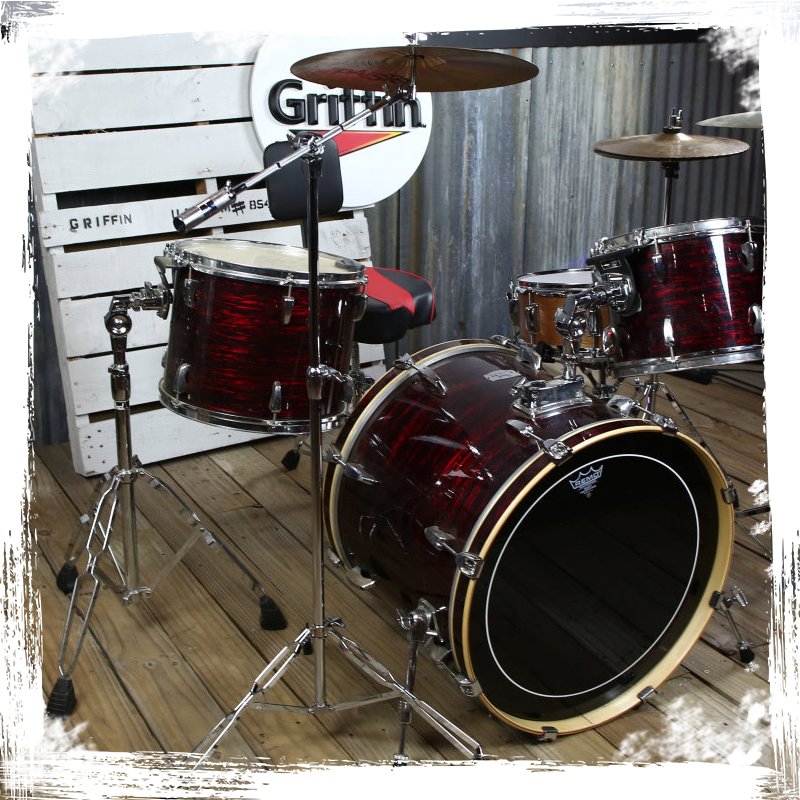
The table below compares the ideal distance for different types of microphones and sound sources.
| Sound Source | Microphone Type | Ideal Distance |
| Bass Drum | Dynamic or Condenser Microphone | 6 inches – 2 feet (15 – 60 cm) from the front drumhead |
| Acoustic Guitar | Condenser Microphone | 6 – 12 inches (15 – 30 cm) from the 12th fret of the guitar |
| Electric Guitar | Dynamic Microphone | 8 – 12 inches (20 – 30 cm) from the guitar cabinet |
| Snare Drum | Dynamic Microphone | 6 inches – 2 feet (15 – 60 cm) above the drumhead and off-center |
Microphone stands can assist with microphone placement by:
- Allowing for precise placement: Stands allow for the precise placement of the microphones at the optimal distance from the speakers and the sound source, minimizing the risk of feedback.
- Providing stability: Microphone stands provide a stable platform for the microphone, reducing handling noise and vibrations, which can contribute to feedback.
- Providing height and angle adjustments: Stands allows you to position the microphone precisely, which can help optimize sound capture so you can sing and play your instruments in style.
- Keeping microphones cables organized: With microphone stands, you can keep cables organized and out of the way. Most stands include cable management features, such as clips or holders, preventing accidental tugs or pulls on the microphone cable.
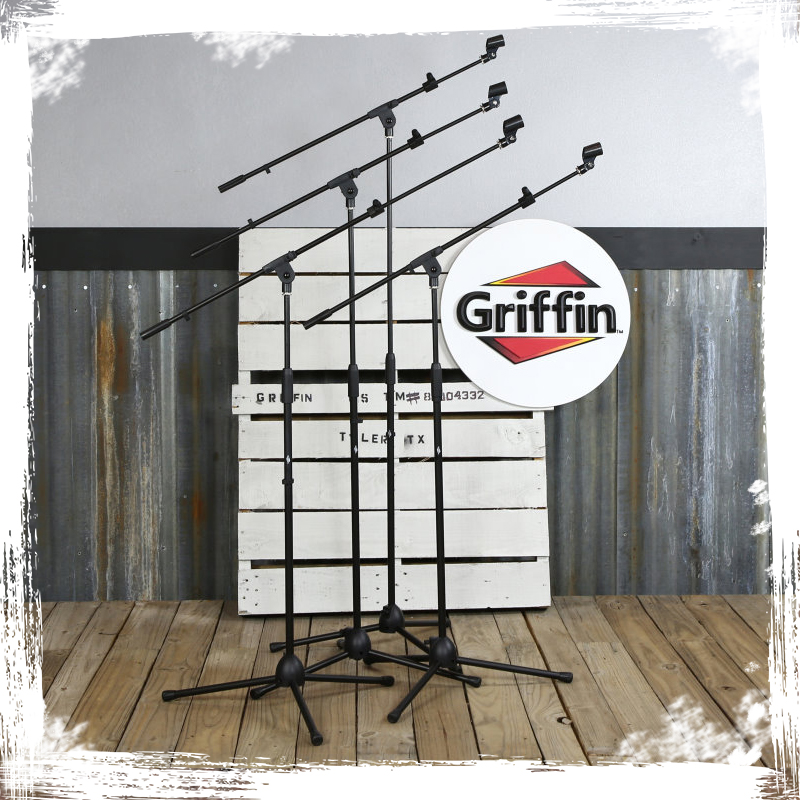
Keep your precious mics safe while capturing the perfect sound with Geek Stands Microphone Stands. We offer a wide range of reliable, sturdy, and multi-functional stands for stage and studios.
For example, you can upgrade your microphone setup with the versatile Griffin Studio Microphone Boom Stand on Wheels.
Perfect for both stage and studio use, this sturdy stand offers incredible flexibility. With a large main shaft extending up to 75 inches and an additional 72 inches from the boom arm, you have nearly unlimited options for positioning your microphone.
It can hold your mic up to a staggering 142 inches high, while the telescoping boom arm accommodates any standard microphone clip.
In addition, say goodbye to tangled cables! This deluxe tripod stand features a built-in cable clip.
Browse for more stable and sturdy microphone stands from our website.
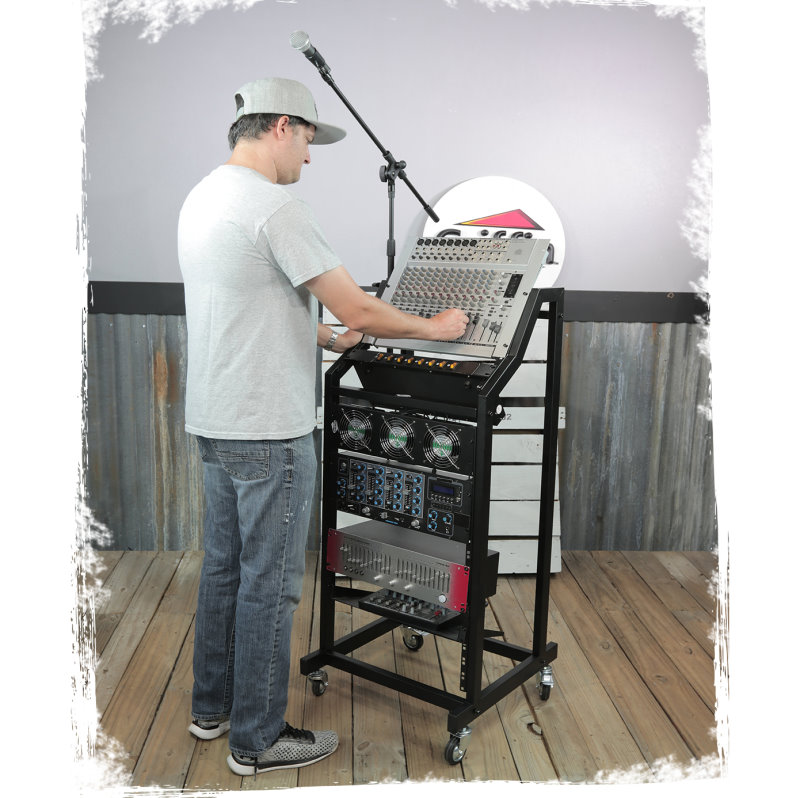
Mixer Location

Image from: Reddit
Choosing the best spot for your mixer is crucial for smooth operation and easy access.
Ideally, you want to position the mixer within reach of the DJ, or whoever is in charge of mixing the sound during the performance.
A common practice is to place the mixer at the back of the venue, near the audience area.
This allows the DJ to have a clear view of the stage and feel the overall sound experience from the audience's perspective. They can then make adjustments to ensure the music resonates beautifully throughout the space.
Depending on the setup and venue, you can also consider placing the mixer on stage, preferably off to the side. This can be especially useful if you have a small stage or if the DJ needs to be closer to the performers for better communication and monitoring.
The possibilities for placing your mixer expand even further if you're using a wireless digital mixer controlled by an iPad or tablet.
You can position the physical mixer on stage near the instruments and connect it to the speakers, while controlling the mix wirelessly from any location in the venue using your iPad.
Remember, the key is to find a spot that provides easy access, clear visibility, and optimal communication between the DJ and the performers.
Whether it's at the back of the venue or on stage, choose a location that suits your specific needs and ensures a seamless live performance.
2 - Illuminating the Stage: Lighting and Stage Design for Unforgettable Performances
When creating a captivating live performance space, lighting and stage design play a crucial role in setting the mood, enhancing the visual appeal, and elevating the overall experience.
Here are some steps to help you create a stage setup that will mesmerize your audience:
Step 1: Set the Stage With Purpose
Start by envisioning the atmosphere and mood you want to create.
Do you want an intimate, cozy vibe or an electrifying, larger-than-life spectacle?
Think about the layout, props, and overall aesthetics that will enhance your performance and captivate your audience.
If you want to create a jazz club groove, prioritize diffusion over absorption. Scatter diffusers around the room to spread the sound waves in a more controlled and pleasing manner.
This way, every note from that saxophone will float through the air like a cool breeze, captivating the audience.
Step 2: Light Up the Night
Embrace a range of lighting techniques to bring your stage to life.
Use spotlights to highlight key moments and create dramatic silhouettes. Add wash lights to blanket the stage in vibrant colors, creating a mesmerizing visual feast. And don't forget the strobe lights for those pulse-pounding, heart-racing moments.
Experiment with colors and intensity to evoke different emotions and create dramatic effects.
Step 3: Choreograph With Light
Treat lights as your dance partners, moving in sync with your every step.
Coordinate lighting cues with your music, accentuating peaks and drops to amplify the emotional impact.
Step 4: Play With Transitions
Smooth transitions between songs or segments can take your performance to the next level.
Use lighting effects, such as fades, cross-fades, and blackout moments, to build anticipation and create a sense of rhythm.
Surprise your audience by transforming the stage with a sudden burst of light, taking them on an exhilarating ride they won't forget.
Step 5: Use Dynamic Stage Design
Think of your stage as a canvas, ready to be transformed into a visual masterpiece.
Incorporate elements like backdrops, set pieces, and props that complement your music and enhance the storytelling. Play with different levels and dimensions to create depth and intrigue.
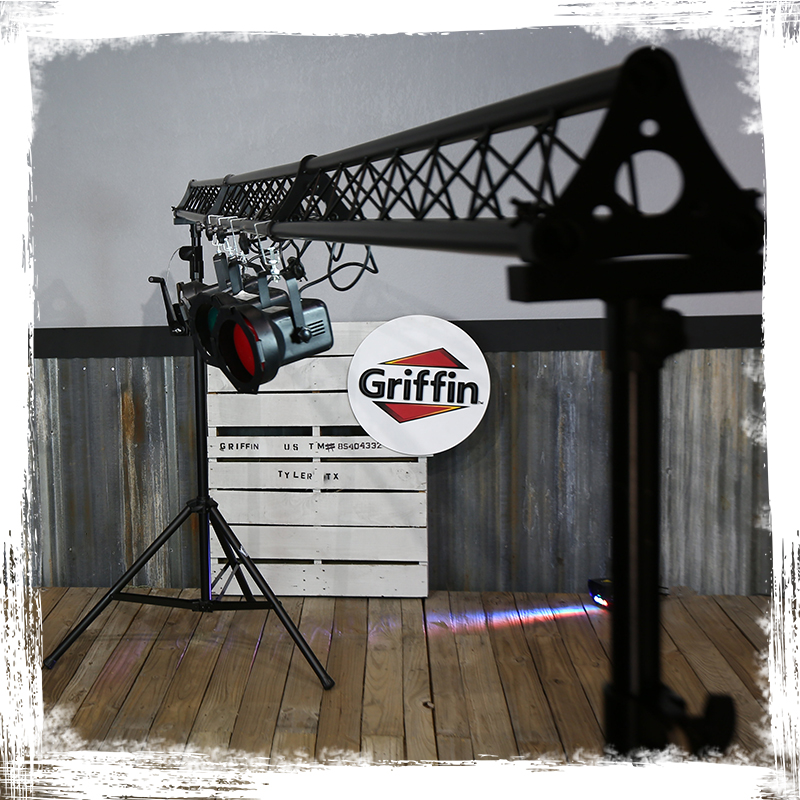
Geek Stands offers a range of stage-friendly light trussing stands that give you the flexibility to customize your lighting.
Our light trussing stands are made of strong durable materials, such as aluminum and steel, designed to bear heavy loads and support complex lighting rigs. They're also adjustable and modular, giving roadies the freedom to create different configurations to suit any lighting setup.
Turn an ordinary performance into an extraordinary spectacle with Geek Stands lighting stands and trusses.
Expert Tip: Our previous guide on choosing a stand for your lights explores trussing and two additional methods for mounting your DJ lights.
3 - Mastering the Stage: Equipment Placement and Accessibility Tips

Image from: Reddit
For a crowd-pleasing live performance, you must ensure that the stage is designed to put you front and center, shining like a rock 'n' roll supernova.
Make sure to arrange your instruments, amplifiers, and live performance equipment in a way that allows for easy access and movement. Consider the flow of the performance and position the equipment accordingly, ensuring that each musician can interact effortlessly.
Here are some essential tips to ensure a safe and hazard-free stage environment:
-
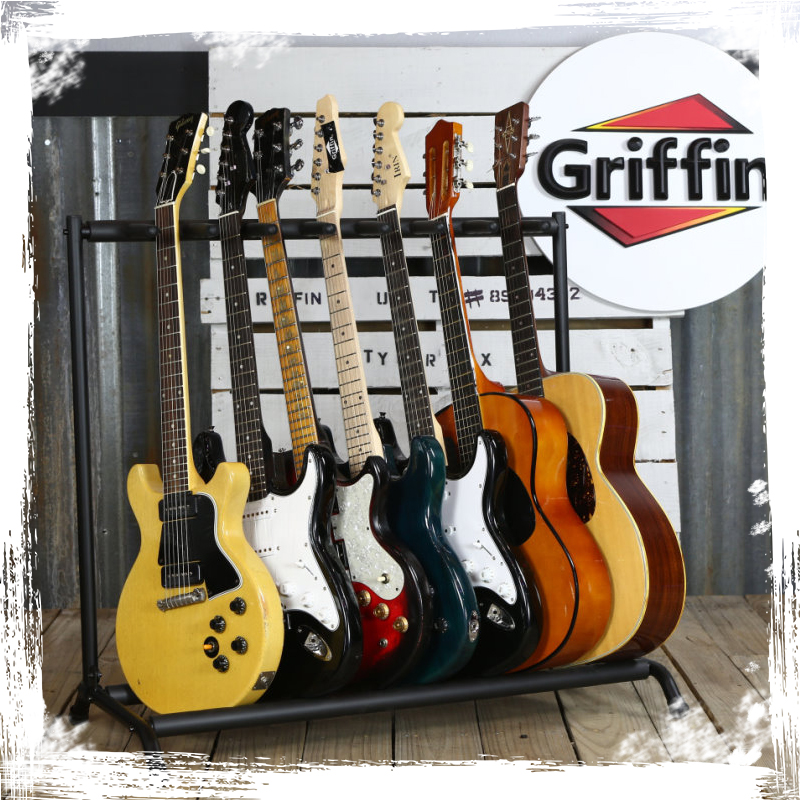
Instrument stands for easy access: Use instrument stands to keep your guitars, keyboards, and other instruments within reach during the performance.
Strategically position the instrument stands to facilitate quick instrument changes and ensure a smooth and seamless performance.
-
Cable management: Avoid tripping hazards and tangled messes by properly managing your cables and connectors.
Use cable ramps or tape them down securely to prevent accidents during your energetic performances.
-
Secure equipment: Take a moment to double-check that all your live performance equipment is securely mounted or placed. This includes instrument stands, speaker stands, and keyboard stands.
Ensure they’re stable and won't tip over, causing unexpected disruptions.
-
Stage lighting safety: Stage lighting can create dazzling effects, but it's crucial to keep safety in mind. Make sure fixtures are properly mounted and securely fastened.
Be mindful of heat generated by stage lighting and keep flammable materials away.
-
Emergency exits and accessibility: Familiarize yourself with the venue's emergency exits and ensure they are clear and easily accessible. Provide clear paths for performers and equipment during load-in and load-out.
Consider the needs of all performers, including those with mobility challenges.
Enhance the convenience and functionality of your stage setup with Geek Stands live stage stands.
We offer a wide range of musician accessories designed with safety and convenience in mind. From sturdy music stands to reliable lighting stands, our products enhance performance, safety and comfort.
4 - Sound Check for a Stellar Performance
So. you've got your band together, your instruments connected, and your stage set up to rock the socks off your audience.
Well, before you unleash your musical prowess, you need to nail that all-important sound check.
-
Get in tune: Start by tuning all your instruments and make sure each is pitch-perfect.
Let each musician play their instrument to check their levels. You don't want your guitar sounding like a dying cat in front of a live audience.
-
Trust your sound engineer: Your sound engineer is your backstage superhero, so trust their ears. They know their stuff when it comes to mixing and making you sound incredible.
Communicate with them and let them work their magic. They'll balance the levels, EQ the sound, and make sure your vocals are crystal clear.
-
“Mic check, one, two, is this thing on?”: Grab that mic, hold it close, and channel your inner rockstar. Test each microphone to make sure it's working properly. Belt out some lyrics, tell a joke, or unleash a primal scream if that's your style.
Make sure you can hear yourself clearly and adjust the levels if needed.
-
Level up, but don't blow your amps: Now it's time to balance the overall volume. Crank it up, but be careful not to blow the roof off the venue.
Adjust the volume for each instrument, ensuring they blend harmoniously.
-
Play a test song: Once you've gone through the sound check process, play a song or two to test the waters. Listen carefully, feel the energy, and make adjustments if needed.
This is your chance to make sure everything sounds as epic as your band's name.
Rock the Crowd with Geek Stands’ Live Stage Stands
Streamline your setup while elevating your stage presence with Geek Stands' high-quality and reliable products.
Our heavy-duty stands are portable, versatile, and provide a secure way to arrange, store, and transport your PA system and instruments.
With an easy setup and takedown, you can focus on fine-tuning your performance instead of struggling to arrange your equipment safely.
Check out our range of live equipment stands, which includes:
- Microphone stands
- Lighting stands and trusses
- Guitar stands
- DJ equipment stands
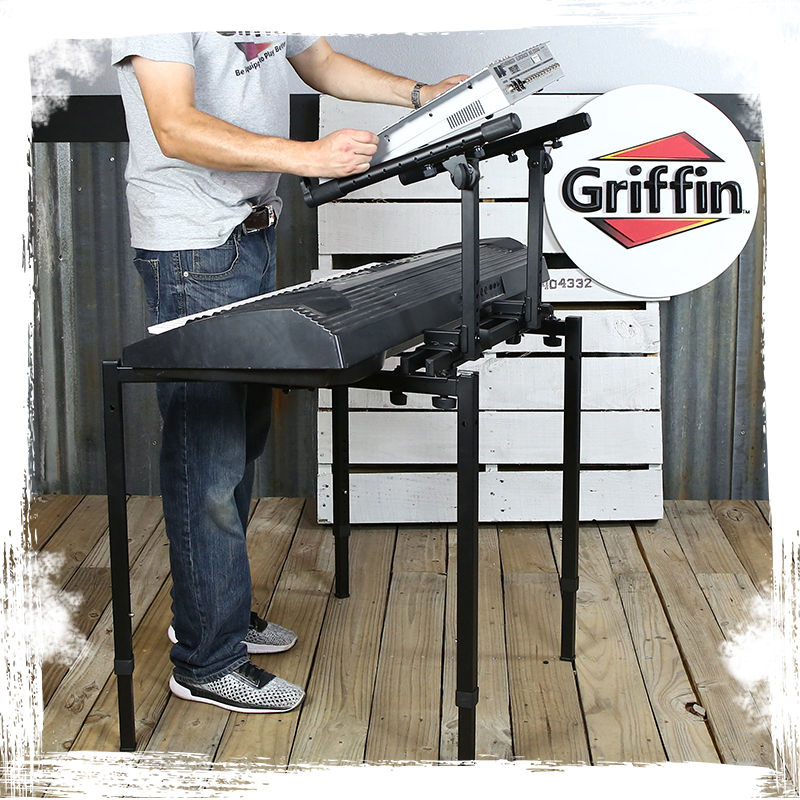
- Keyboard stands
- Rackmount stands and cases
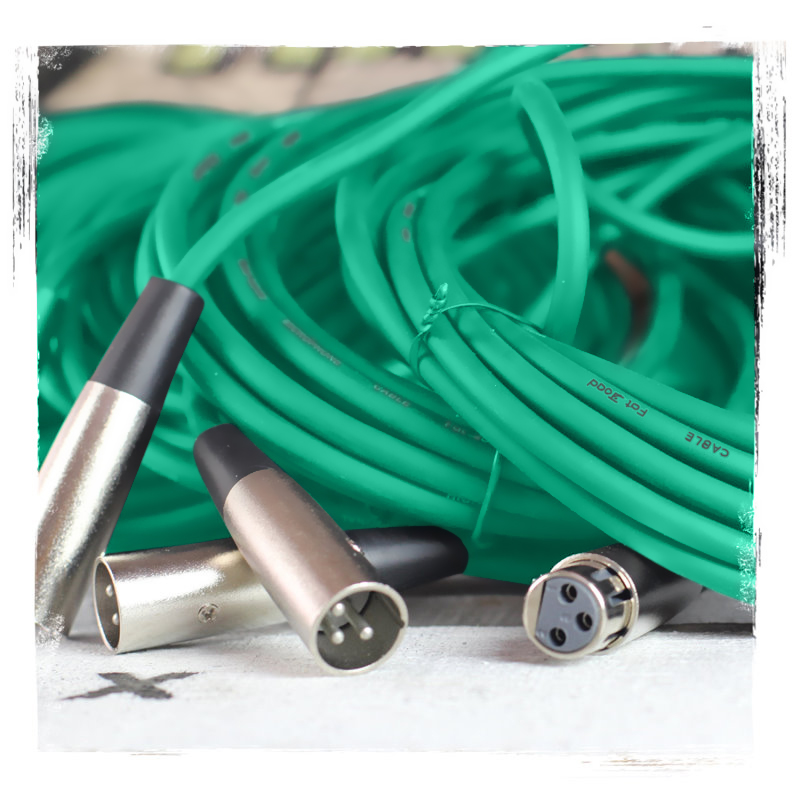
We also provide high-quality, reliable audio accessories, such as XLR microphone and instrument cables to seamlessly connect your equipment.
Learn More: How do you decide on the best microphone cable for you? This guide covers the two main considerations when buying an XLR cable.
Head over to Geek Stands for sturdy and reliable live stage stands and experience faster, safer, and easier stage preparation.
Do you prefer a visual guide? This video breaks down the entire process in easy-to-follow steps: