You have no items in your shopping cart.

MEET the Founders & Team
Mike and Joylynn Jelliff, the founders of GeekStands.com as well as musicians. They are owners and users of the products GeekStands.com sells.
Learn about us!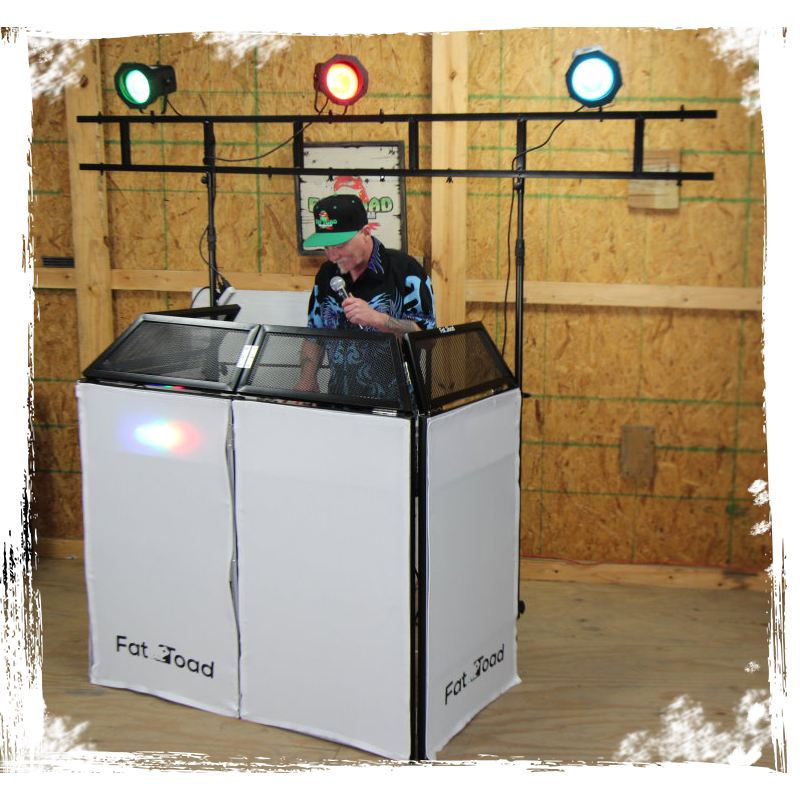

22
May

Any recording setup, whether you are a podcaster, musician, or content creation, needs a decent microphone stand. The microphone can be positioned at the ideal angles without taking up much room on the table thanks to the canvas stand. Nevertheless, high-end microphone stands are pricey. Making your own microphone stand is a convenient and reasonably priced choice for do-it-yourselfers on a tight budget.
This blog offers step-by-step instructions on how to construct a DIY music stand, what you will need, and why it is the ideal addition to your setup. We'll also talk about how to make sure your stand is stable and compatible, talk about testing a new stand and compare the pros and cons of a DIY solution versus a store-bought stand.
Why Create a DIY Microphone Boom Stand

You may decide to make your own microphone boom stand instead of buying one for several reasons. Here are a few main reasons:
Cost-Effectiveness
Professional or heavy-duty microphone boom stands can be particularly costly. By reusing materials or using reasonably priced components, you can save money while creating your own.
Customisation
Do-it-yourself stands provide you the freedom to design something that meets your unique requirements. You have total control over the finished product because you may change the height, weight, or size according to your workplace or recording arrangement.
Reusing Unused Things
Metal rods, wooden beams, and used furniture that many people have lying around the house can all be used to create a do-it-yourself microphone boom stand. This approach to trash reduction is both economical and ecologically friendly.
Learning Experience
If you like do-it-yourself projects, building your boom stand is an enjoyable and instructive experience. It enables you to experiment with new abilities, including metallurgy or simple woodworking.
Flexibility for Various Purposes
A do-it-yourself stand can be constructed to fulfill multiple purposes. For example, you can construct the stand to be simply adjusted for different situations if you regularly record different instruments or vocals. You may even create a multifunctional boom platform that can accommodate several microphones or add-ons like reflection or pop filters.
Sustainability
A DIY project is an environmentally responsible choice because it minimizes waste by reusing outdated materials or what you already have at home.
Special Setup
A specially designed boom stand can provide a distinctive, individual touch to your studio that captures your creative essence.
Creative Control Over Design
You can create a boom stand that is ideal for your particular area by building it yourself. To make sure the stand does not take up more space than is necessary, you can alter the size and base, for instance, if your recording space is small. Additionally, you can experiment with various materials, such as wood, metal, and plastic, based on the desired look and feel.
Solutions for Storage and Portability
The ability to build a DIY microphone boom stand extremely portable is an additional advantage. You might concentrate on lightweight materials for transportable recording setups or create a stand that is simple to assemble and store. It may be made to collapse or fold down when not in use, which can free up room in your gear bag or home studio.
Materials You Will Need
Get the materials you will need to construct your DIY microphone boom stand before you begin. Although there are several methods for building a boom stand, this tutorial concentrates on utilizing readily available equipment or everyday household objects. This is a simple list:
Materials
A metal pipe or a wooden dowel that is one to two meters long; will act as the stand's boom arm, giving your microphone length and support.
Because PVC pipes are lightweight and easy to work with, they are perfect for building platforms that need flexibility and durability. PVC can be painted or coated to improve its appearance and is less costly than metal.
If you want a more robust and long-lasting solution, steel or aluminum rods are an excellent choice. These are perfect for people who want to utilize the stand for high-end studio recordings or attach bulky microphones.
Base (sturdy block of wood or metal plate)
The base will provide stability. It should be heavy enough to keep the stand from tipping over.
Adjustable clamps or brackets
Clamps or brackets that can be adjusted are used to secure the boom arm and give you freedom when it comes to changing the microphone angle.
Counterweight (optional)
To establish balance with heavier microphones, place a counterweight on the opposite end of the boom arm.
Tools
Drill with Bits
Use drill bits to create mounting holes in the base and boom arm.
Hot Glue Gun
A hot glue gun is ideal for attaching parts that are not supposed to support large weights. It can be used for attaching ornamental pieces or lightweight brackets.
Hacksaw
A hacksaw is a useful tool for cutting steel rods or metal pipes to the proper length as needed.
Joints and Pipe Fittings
Use joints or pipe fittings that can lock into various configurations while constructing a telescoping arm. This will make your stand more versatile and give it a more polished appearance.
Screwdriver
A screwdriver is used to tighten nuts and screws.
Saw (if using wood)
If using wood, use a saw to cut the base or dowel to the appropriate size.
Measuring Tape
To guarantee accurate measurements, use a measuring tape.
Pliers or wrench
For tightening nuts and bolts, use pliers or a tool.
Sandpaper
Sandpaper is optional but can be used to soften any sharp edges on metal or wood parts.
Step-by-Step Guide to Building Your DIY Boom Stand

Let us get started on the detailed instructions for creating your DIY microphone boom stand now that you have the necessary supplies. The goal of this design is to create a sturdy, movable boom platform using easily accessible, everyday objects.
Get the Base Ready
For stability, your microphone boom stand's base is essential. Select a metal plate or a block of wood that is sufficiently substantial to keep the stand from toppling over when the microphone is mounted.
Trim the metal or wood block to the appropriate size. Generally speaking, you should choose a foundation that is around 30 cm by 30 cm, although you can change this according to how long your boom arm is.
Add rubber feet or cushioning to the bottom to prevent the foundation from slipping. These can be glued on or secured with micro screws.
Attach the Boom Arm to the Base
The microphone will be held in place by the boom arm, which must be firmly fixed to the base.
Make sure that the hole you drill in the middle of the base is big enough to accommodate your metal pipe or dowel.
Use screws or bolts to fasten the pipe or dowel after inserting it into the hole. Make sure it is firmly secured to avoid wobbling.
For extra stability, think about welding a metal pipe to the base if utilizing one.
Construct a Boom Arm That Can Be Adjusted

Image sourced from AutoDesk Instructables
The boom arm must have movable clamps or brackets attached to be adjustable.
Make a little hole in the pipe or dowel close to the top. The microphone holder is going to be installed here.
To modify the angle, fasten a clamp or bracket here. A typical pipe clamp or a bracket made especially to hold microphones could be used here.
To create a telescoping (extendable) arm, use two pieces of pipe that slide into one another and a clamp that can be adjusted to the required length.
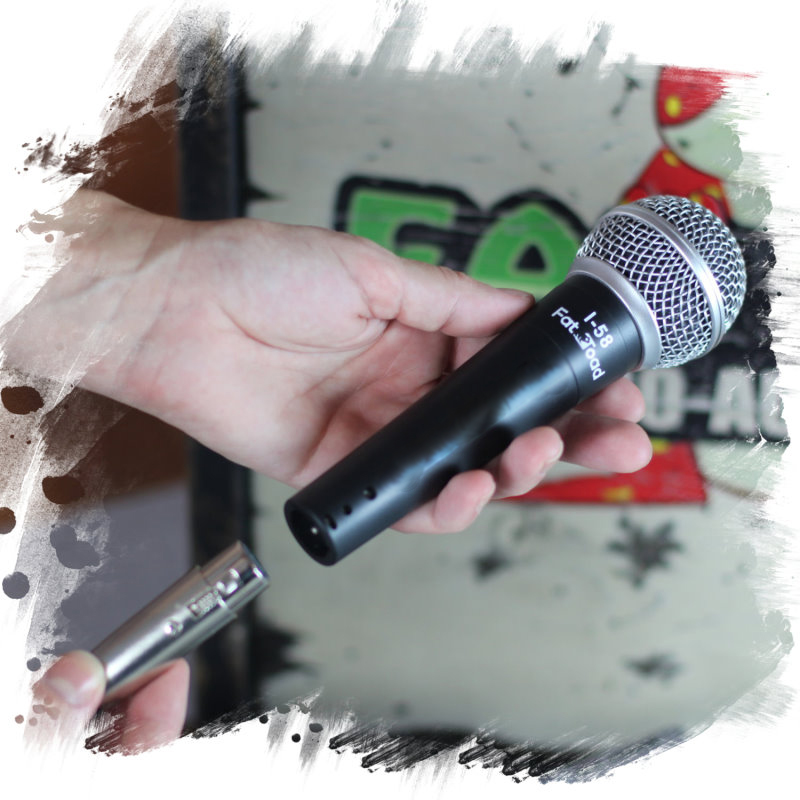
Connect the Microphone
After securing your boom arm, it is time to fasten the microphone holder.
You may screw the standard clip or shock mount that comes with your microphone straight into the end of the boom arm.
Use a tiny clamp or bracket to hold the microphone firmly in place while you are improvising.
Add a Counterweight (Optional)
You may require a counterweight if you are using a heavy microphone in order to keep the boom arm from tilting forward.
Fasten a tiny weight, such as a heavy item or metal plate, to the boom arm's other end. By doing this, the microphone's weight will be balanced.
For stability, fasten the weight firmly using bolts or screws.
And here you have it! Your DIY microphone boom stand!
Image sourced from AutoDesk Instructables
Here is a youtube video about DIY Microphone boom stand
Tips for Adjustability and Stability
After assembling your boom stand, it is critical to maximize its stability and adaptability. These are some important pointers
Employ Clamps that are Adjustable
Make sure the boom arm has a clamp that is adjustable to enable smooth movement. This will enable you to easily position the microphone at different angles.
Secure the Boom Arm
To maintain the boom arm's stability in the intended position, use locking devices such as wing nuts or tightening screws on the joints.
Weight Balance
To avoid tipping, make sure you use a counterweight on the other side of the boom arm to balance the weight of a hefty microphone.
Check for Stability
Verify the boom stand's stability by testing it on various surfaces, particularly when moving the microphone.
Think About Height Adjustments
Make sure you can readily change the stand's height by adding clamps or telescoping portions if you intend to use it for a variety of recording scenarios.
Friction-Based Adjustments
Use friction rings or washers to increase joint friction if you discover that your boom arm swivels too readily. This keeps the microphone stationary during recording sessions by preventing the arm from moving unintentionally.
Clamp Stability
Use strong clamps made for pipes or photography equipment in places where the boom arm connects to the base or stretches from one segment to another. With their powerful holding force and customisable design, these clamps aid in stability over time.
Counterbalance Using Elastic Bands
Elastic bands can be used as a basic counterweight mechanism if you require a more adaptable method of balancing. To help stabilize the microphone, attach elastic bands between the boom arm's microphone end and the opposite side.
Testing and Final Modifications
It is important to properly test and make any necessary adjustments to your do-it-yourself microphone boom stand before using it in an actual recording scenario.
Verify Stability
Test the stability of the boom stand by placing it on the surface you intend to use. Particularly when the microphone is attached, be sure the base does not sway or move while the boom arm is extended.
Soundproofing Considerations
It is critical to assess whether the boom stand causes any noise or vibrations in the microphone once it has been set up.
To reduce vibrations that might be transmitted from the floor to the microphone, place rubber or foam cushions beneath the base. For dynamic microphones used in settings where movement is frequent, this is particularly crucial.
Assess Adjustability
To guarantee seamless operation, adjust the boom arm to different heights and angles. Verify that the microphone remains in the desired position and that the clamps or joints lock firmly in place.
Examine the Microphone Connection
During modifications, make sure the microphone is firmly fixed to the end of the boom arm and does not sway or fall. Use more screws or tighten the bracket if the connection feels slack.
Examine the Sound
After everything is safe, record a sample to test your microphone configuration. Verify whether the microphone remains stationary during the recording session and whether noise or vibrations have an impact on the quality of the recording.
Pros and Cons of a DIY Microphone Boom Stand
There are benefits and drawbacks to making your own microphone boom stand, just as with any do-it-yourself job. Here is a fair analysis of the advantages and disadvantages.
Pros
If you already have the majority of the components on hand, building your own boom stand can save you money.
Here is a customer testimonial about the product by jk102002
Awesome for the price.
Have been using it since I received it. Love it. Shipped super fast. Just bought another one.
Whether you want a sturdier base, a larger boom, or an adjustable height, you may construct the stand to suit your unique requirements.
The completion of a useful, customised do-it-yourself project makes you feel accomplished.
Reusing materials is an eco-friendly technique to reduce waste and create new products out of items you might otherwise toss away.
Cons
A DIY stand may not be as sturdy or steady as a commercial product, depending on the materials you employ.
Some of the features that professional stands have, such telescoping arms, integrated cable management, or sophisticated locking mechanisms, may not be included in do-it-yourself stands.
Creating your own stand can require a lot of work, especially if you are not familiar with the necessary equipment or methods.
A DIY stand might not seem as polished or businesslike as a store-bought stand, depending on your level of craftsmanship.
Creative Modifications for Your DIY Microphone Boom Stand
Once you've completed the basic design of your microphone stand, you may want to look for new ways to improve its look and function. Here are some other features you can add to your setup to make it more functional and polished.
Solutions for Cable Management
It can be challenging to manage microphone cables, particularly when working with a long boom arm. Simple cable management tools can help you maintain a tidy and useful setup.
To keep the microphone wire in place, fasten Velcro cable straps along the boom arm's length. By doing this, you can eliminate undesired noise when recording and the cable from dangling.
- Integrated Cable Channels
To conceal the cable within a metal or PVC pipe used for the boom arm, cut a tiny channel or groove along the length of the pipe. This makes your do-it-yourself boom stand appear more polished.
Using plastic or metal cable clips, which can be fastened to the stand at several locations to secure the cable, is another simple method. As needed, these clips are simple to remove or modify.
Personalized Finishing or Paint
Consider giving your materials a unique paint job or finish if you want your do-it-yourself boom stand to blend in with the design of your recording area or studio.
For a sleek, polished appearance, spray paint your boom arm and base. You may make your stand look more polished by using metallic colors like gold, silver, or black.
If the boom arm or base is made of wood, think about putting a wood stain or varnish. This can bring out the wood's inherent grain, giving your stand a fashionable and long-lasting appearance.
If you want to give the stand a more branded or creative vibe, you can customise it with stencils or decals. For YouTubers, streamers, or content producers who want their equipment to stand out visually, this is especially helpful.
Here is a customer testimonial about our product by harvette1
Good Mic Stand
This is a very good mic stand at a very good price. I have trouble finding heavy duty mic stands that feel like they will resist getting knocked over. I am afraid they just don't make them at reasonable prices. This stand also seems light. I have a little trouble keeping the screw and washer tight that keep the mic from rotating but I am still getting used go it. The boom arm is not back-weighted. So heavy mic's can pull the stand forward if you are not careful. But, again, every stand I see for less than $100+ seems to have the same problems. All things considered this seems to be one of the best stands available in its price range
Swivel and Tilt Mechanisms
Consider adding tilt and swivel mechanisms to your do-it-yourself boom stand to increase its adaptability even more. This will enable the boom arm to travel in various directions.
Put in a ball joint where the microphone mount or base and boom arm connect. This allows you to tilt and rotate the microphone 360 degrees, which makes it simpler to make adjustments without having to move the entire platform.
Install a locking swivel mechanism that enables you to position the boom arm at a particular angle if you want greater control over its location. Particularly helpful for vocal recordings, when exact placement is crucial, is this capability.
Adding shock absorption to your DIY boom stand can greatly enhance the quality of your recordings, especially for delicate recordings made with condenser microphones or in noisy settings.
In order to protect the microphone from vibrations brought on by handling or movement, use a shock mount. This might be particularly useful if you frequently change the stand during sessions or if your recording area is not soundproof.
To lessen vibration transmission from the floor, add rubber feet to the stand's base. Additionally, this might stop the stand from slipping or scratching on smooth surfaces.
Your do-it-yourself microphone boom stand can provide even more versatility, usefulness, and visual appeal by implementing these inventive changes. These upgrades can elevate your project to a new level, whether your goal is to increase stability, streamline cable management, or inject some own flair.
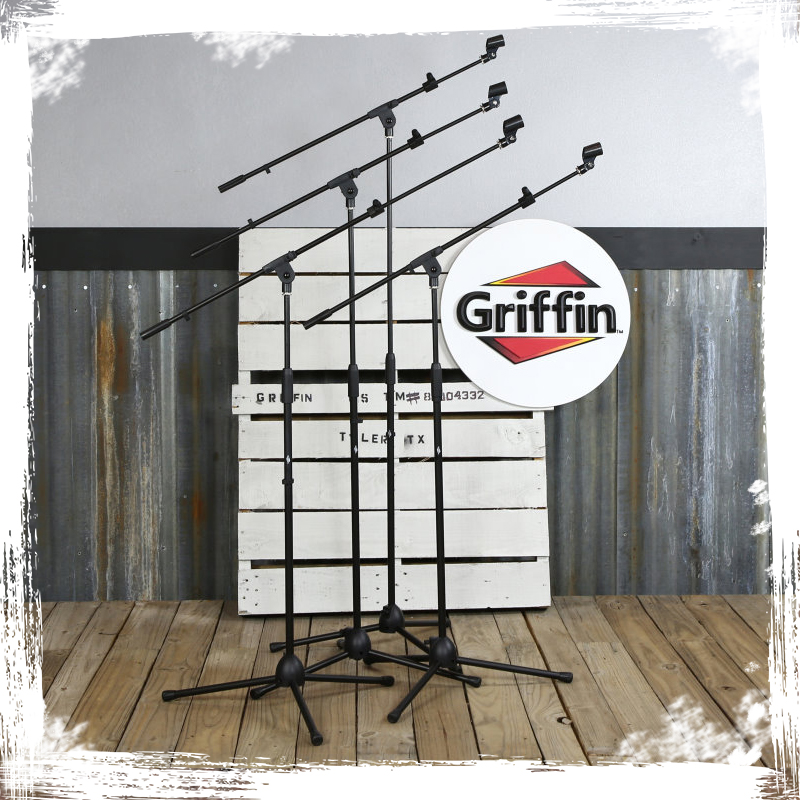
Comparison of Different Microphone Boom Stands
Here is a comparison table for different microphone boom stands
|
Microphone Boom Stand Type |
Material Quality | Weight Capacity | Design Type | Price Range |
| Straight Boom Stand | Usually Steel | Moderate | Fixed height | Low to Mid |
| Adjustable Boom Stand | Usually Steel | Moderate | Extendable | Mid |
| Tripod Boom Stand | Aluminum | High | Tripod | Mid to High |
| Desk Boom Stand | Varies | Low | Compact/Desk mount | Low to Mid |
| Suspended Boom Stand | Varies | Moderate | Overhead | High |
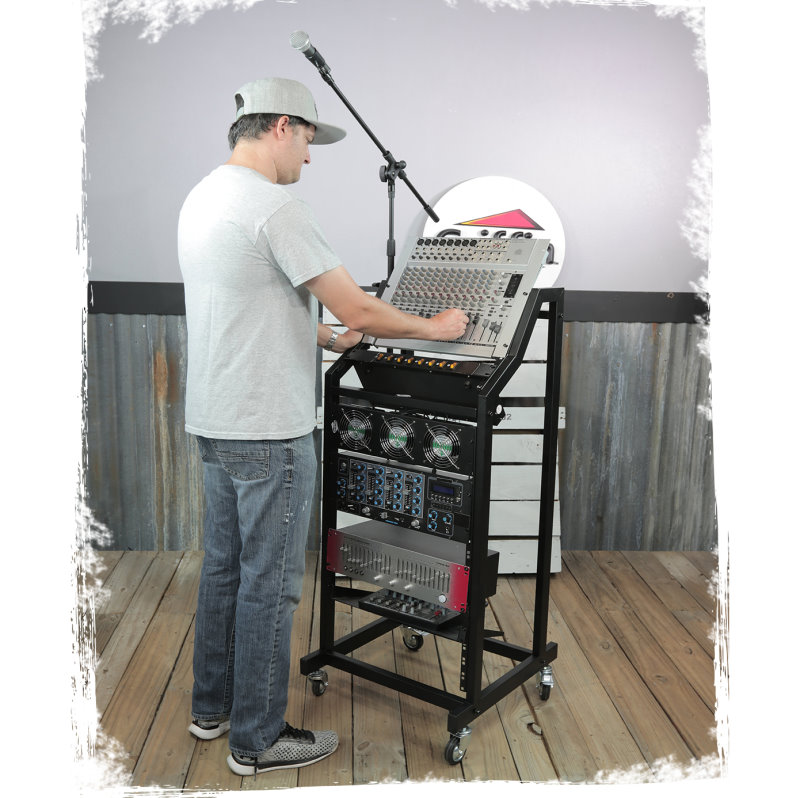
Why Choose Geekstands For Microphone Boom Stand
At Geek Stands, we specialize in designing microphone boom stands that seamlessly blend durability, versatility, and user-friendly features. Our stands are crafted with high-quality materials, ensuring they can withstand the rigors of studio recordings and live performances alike.
This dedication to quality means that whether you're a seasoned professional or an emerging artist, our stands provide the reliability you need to focus on your sound.
We offer an extensive range of microphone boom stands to accommodate various recording environments and setups. Each model is tailored to suit different needs, whether you require a compact desk mount or a sturdy overhead solution. This variety allows you to select the perfect stand that aligns with your creative vision and workflow.
Our microphone boom stands feature intuitive height and angle adjustments, allowing you to position your microphone for optimal audio capture with ease. This thoughtful design promotes efficiency, enabling quick modifications during sessions or performances without disrupting your flow. Additionally, portability is at the forefront of our designs, making it effortless to transport your stands between gigs and rehearsals.
Understanding that every musician has unique requirements, we focus on creating stands that balance functionality and ease of use. Lightweight yet robust, they can be set up swiftly, giving you more time to concentrate on your art rather than your gear.
By choosing Geek Stands, you're investing in equipment that enhances your performance while providing unwavering support. If in case you are looking to buy a microphone boom stand then don’t hesitate—choose Geek Stands and elevate your sound today!