You have no items in your shopping cart.

MEET the Founders & Team
Mike and Joylynn Jelliff, the founders of GeekStands.com as well as musicians. They are owners and users of the products GeekStands.com sells.
Learn about us!

01
Aug

Back in 2016, while performing her hit single “All I Ask” in Birmingham, Adele’s mic cut off mid-song—arguably one of a performer's biggest nightmares.
Of course, Adele took this in stride and sang straight through the sound outage, prompting her audience to jump in and sing along until the sound was restored.
In this instance, everything ended well. But unfortunately, this isn’t always the case when a mic cuts out in the middle of a show.
Today, we’ll explore the most common XLR microphone cable problems and provide troubleshooting tips to get your audio system up and running.
Among the troubleshooting tips we have in store for you are:
- A quick overview of your XLR microphone cable’s anatomy
- Expert recommendations for different microphone cables
- Sorting out your cable connection and connectors
- Where to find the best microphone cables
Join us as we take a deep dive into all things XLR cables and help you diagnose and fix any mic issues before they can throw a curveball at you during your next performance.
1 - Checking for Incorrect Cable Types
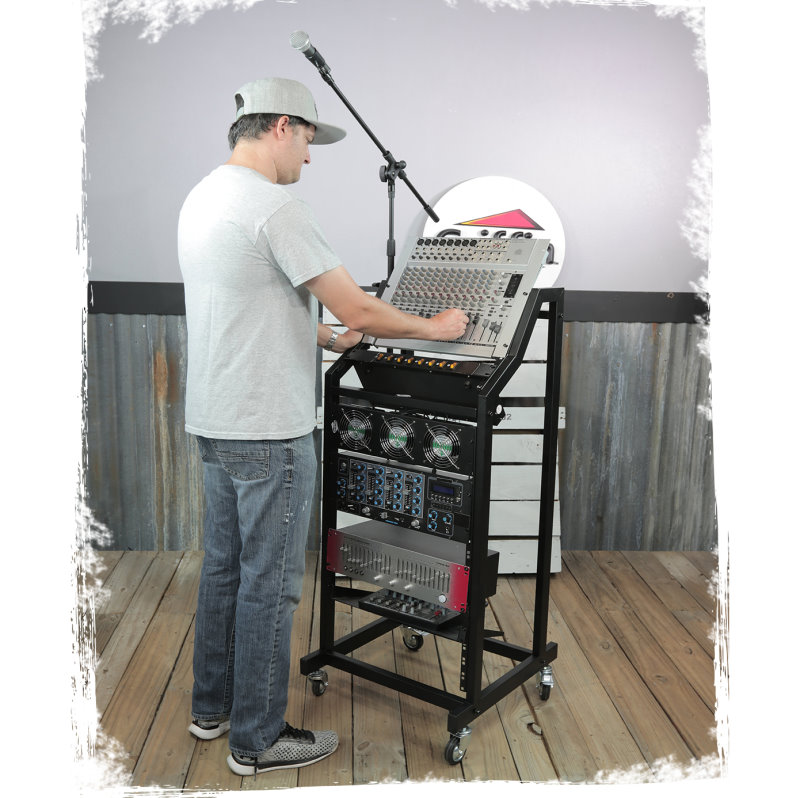
XLR cables are an essential audio engineering tool for connecting microphones and other audio equipment.
So much so that if you run into any problems with your audio equipment, your XLR cables are one of the first things you’ll want to troubleshoot to ensure everything’s working as expected.
First, you have to confirm that you’re using the right type of cable. An incorrect cable will always cause sound issues, even if it's in perfect working condition.
The most common types of cable used in audio systems are TS, TRS, and XLR.
The TS wire is unbalanced and may create unwanted background buzz. With TS cables, your sound quality is also more susceptible to being affected by noise, interference, and poor signal.
TRS and XLR cables, on the other hand, are balanced and less likely to produce unwanted noise or suffer from interference.
Differentiating Factor: Balanced cables typically have three wires: a ground wire and two signal wires. The two signal wires cancel out any unwanted sound and eliminate interference, making them the preferred choice in audio engineering.
Understanding these distinct differences will make it easier for you to identify your cables, and know if they’re functioning correctly.
In normal working conditions, balanced cables (TRS, XRS) shouldn’t produce any humming or buzzing.
Beyond understanding various cable features, you need to check the condition of your cables—physical damage can also be the source of your sound issues.
Look for signs of wear and tear, including frayed wires and exposed insulation. The level of damage, if any, will tell you whether it's time to repair or replace your cable to restore your sound quality.
In the event that you need to repair your cables, the video below will be of help.
If you’ve confirmed that you’re using the correct cable and are still experiencing sound issues, then you need to check for poor insulation, crimped wires, corroded contacts, or inadequate shielding.
To do so, you’ll need to disassemble your cable and manually inspect your connectors.
If you notice that there are some wires that have come loose within the connector, you’ll need to resolder them back on. Proceed with caution—soldering irons are extremely hot.
Alternatively, you can spare yourself the hassle, and get ahead of future cable issues by replacing them with affordable, high-quality options from Geek Stands.
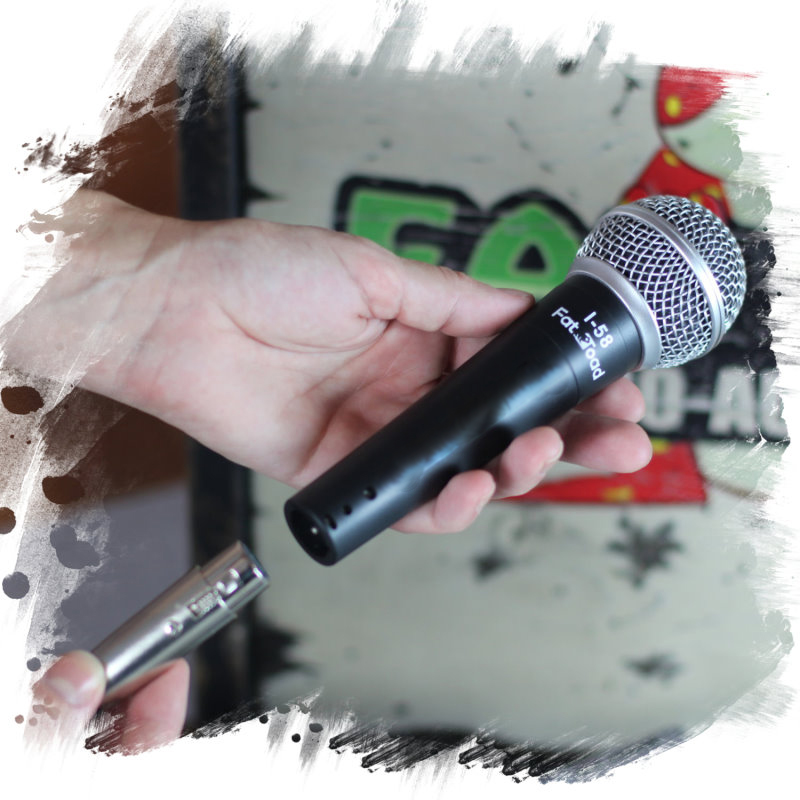
"Good cables at more than fair price. Check out the 58 Fat Toad mics. They are killer for the price." — Johnson Mobolaji
2 - Eliminating Faulty Connections

Image From Medium
Faulty connections are another common cause of sound issues. Pay close attention to your cables to keep them in tip-top shape to prevent any audio problems.
The most common issues that plague XLR cables include damaged insulation, insufficient shielding, excessive wear, and heat damage.
Over time, these issues will degrade your audio quality and give rise to other sound issues. Thankfully, you can easily stay ahead of any potential problems with simple preventative care, and troubleshoot minor issues before they become full-out audio system failures.
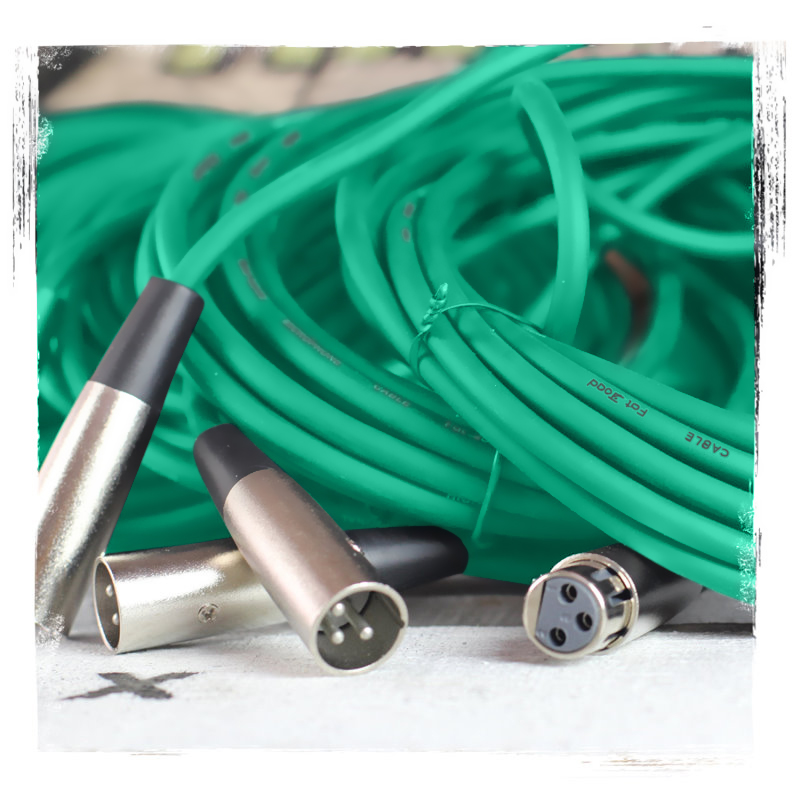
Now, before we go on, let's briefly go over the anatomy of a microphone cable so you can better understand what to look for when inspecting or troubleshooting your mic cables.
Your typical XLR cable consists of four distinct parts:
- At the core, your cable has two copper wire conductors (a positive and a negative), both of which are wrapped in their own insulation.
- These two wires are twisted together and covered with filler to prevent warping and to preserve the cable’s shape.
- Next, is the shielding—usually a copper sleeve, which serves to protect your cable from interference.
- Finally, there’s the outer jacket; a plastic or rubber sheathing that protects your cable from handling damage.
Regular checks and inspections will expose any damage to your microphone cable and how far it extends—superficial, extending further down to the shielding, or exposing the core wires. The extent of the damage will tell you whether to repair or replace your microphone cable.
After an assessment of the physical state of your cable, you can move on to the connections. Unplug and plug your XLR cables, checking for a proper connection every time.
If you notice a consistent connection problem, try using a different cable. If the problem persists even after switching cables, then the problem may be one with your device, not your cables.
But if you notice that the connection issues seem to be coming from the cable, then it may be time to pay Geek Stands a visit to find your best replacement option.
3 - Fixing Loose Cable Connections
The next most common cause of unexpected audio issues is a loose cable connection. Thankfully, loose cable connections are easy to troubleshoot and resolve.
But before you find yourself battling sound issues in the middle of your set or recording session, there are measures you can take to stay ahead of loose cable connections and the audio-related headaches that come with them. These include:
- Regularly checking your cables for signs of wear and tear
- Inspecting your cable outer jacket (and shielding) for damage
- Storing your cables in safe and secure places
If you find yourself experiencing some sound issues, here’s what to do when troubleshooting loose cable connections.
Check for signs of faulty wiring—this is almost always the source of audio issues like intermittent sound, or altogether missing audio. If you notice any loose connections in your cables, it's vital that you use the appropriate tools to sort out the issue.
In most cases, soldering is the go-to technique to fix broken connections in XLR microphone cables, but it does require some technical skill and equipment.
To DIY the repair job, proceed with caution as soldering irons can get extremely hot. Also, if the loose wires within your cable are too short to reconnect effectively, you’ll need to use a soldering wire to manipulate and secure the connection.
Once complete, remember to reattach the metal exterior to the head of your cable and properly reassemble it. It’s crucial that you test your cable after this repair to ensure it's in proper working order.
Expert Tip: XLR microphone cable maintenance is an integral part of audio engineering. It helps keep your cables in peak condition and ensures their longevity, ultimately saving you time and money.
To walk you through the process of fixing loose cables via soldering, allow us to hand you over to YouTuber and fellow XLR microphone enthusiast, PatTheSoundGuy.
4 - Fixing Poorly Seated Connectors

Image from Imgur
Poor connections will lead to unexpected audio interruptions, breaking the flow of your performance, and tainting the experience for both you and your audience.
But that’s a worst-case scenario. Let’s get into how you can prevent that from happening by troubleshooting potential poor connections before they turn to disaster.
To troubleshoot your connectors, check them before and after each session to make sure they’re properly seated. Take this opportunity to confirm that all the screws and pins are firmly in place as well.
If you notice any corrosion or damage to your cable insulation, replace them immediately. This kind of damage can be the first sign in a cascade of events that will lead to further damage to your microphone's internal components.
Additionally, when connecting your XLR cable to your microphone, always double-check that the connections are tight and secure. An unsecured connection may cause intermittent sound or even complete loss of audio.
Above all, remember to handle your cables with care, and always replace them as soon as possible to maintain the best sound quality.
5 - Identifying and Replacing Poor Quality Cables
In matters of audio quality and mic cables, there’s one truth that holds true no matter the situation: You can’t have high-quality sound with poor-quality cables.
Poorly made cables fail, often at the most inopportune times, tanking your sound quality and impairing your performance.
They’re plagued with quality and performance qualms, including insulation damage, excessive wear, and stubborn connectors, all of which will negatively impact your live performance.
Thankfully, poor-quality cables have an easy fix—investing in high-quality XLR cables.
High-quality XLR microphone cables are built to last. They’re able to resist the ravages of wear and tear thanks to their superior construction, eliminating common mic cable issues, including sound leakages and interference.
Their superior build quality extends to their connectors, which enhance your connectivity and are easy to pair with your existing Dj equipment and other audio gear.
But even with the best quality XLR microphone cables, proper care and maintenance are essential to get the most from your music equipment. You’ll need to check your cables regularly for signs of damage and replace cables when need be.
You’ll also want to avoid winding your cables too tightly or leaving them in direct sunlight as this will hasten their wear and the audio issues that come with it. When transporting your cables, store them in a protective pouch to further insulate them from wear and damage.
High-quality XLR microphone cables are an investment in long-term quality sound. This is a fact that we appreciate and embrace at Geek Stands, which is why we offer the best rates and deals on our high-end microphone cables.
As former musicians, and from decades of building relationships with the best music equipment manufacturers, we’ve negotiated the best prices on our XLR microphones—savings that we can pass on to you with the best prices.
Check out our collection of high-quality microphone cables and say goodbye to poor quality.
"Solid cables for a great price!! I have some Mogami mic cables for which I paid a small fortune and I can't tell the difference between them and the Fat Toad cables. The Fat Toad cables are solidly built and quiet which is all I want out of a mic cable. I'm about to order the Fat Toad 10 pack right now." — Fabiola Asiimwe
6 - Ensuring Proper Cable Length
The wrong XLR microphone cable length can be a real drag. Make sure you get the right one for your needs.
To troubleshoot your ideal mic cable length, measure the distance between your microphone and DJ equipment or audio gear, before making your purchase. This will go a long way in preventing cable strain, heavy wear, and potential damage.
But length isn’t the only thing to consider before committing to a microphone cable. Check the connectors on both ends of your cable to ensure that they match up with the ports on your devices.
This is how you can catch mismatched connectors and prevent potential equipment damage and frustration moments. Spare yourself frantic last-minute fixes before your set by investing in cables that are the right length.
At Geek Stands, we stock a wide selection of XLR cables to help make finding the perfect length for your setup easier. We source our cables from the best manufacturer, so you know you’ll be getting high-quality products.
Check out our collection of XLR microphone cables today for the best deals in the country.
7 - Assessing for Electrical Interference

Image from Reddit
Interference from other electrical devices can cause your audio system to suffer, so it's important to minimize them when possible.
There are several techniques you can use to protect your XLR cables against electrical interference. For example, ensure each of the following components is in great working condition to significantly reduce the risk of interference.
- Electrical shielding: A specific material, typically copper, used around microphone cables to protect them from electrical noise
- Surge protection: Provides protection against sudden spikes in power, which can damage your XLR cables and the music equipment they are connected to
- Signal grounding: Refers to the act of connecting your cables to the ground in an attempt to reduce electrical noise
In addition, also troubleshoot for, and protect your music equipment against, ground loops.
Definition: A ground loop occurs when two pieces of electrical equipment have different ground potentials, which can cause a hum or buzz, static, and other unwanted noises. To prevent these, ensure that all your equipment is properly grounded.
Of course, to improve your chances of success, and to ensure the best sound quality, you’ll need high-quality XLR microphone cables—and where can you get the best XLR cables?
Allow us to properly introduce ourselves.
Discover Geek Stands: The Answer to Your High-End XLR Mic Cable Needs
The right XLR cable is an integral part of your performance—a fact we appreciate at Geek Stands and use to inspire our collection of premium microphone cables.
We also recognize that microphone cables can suffer from a variety of issues, but with some troubleshooting, you can quickly diagnose and fix them.
The table below highlights some preventative measures you can take to ensure the optimal performance and longevity of XLR microphone cables.
| Problem | Preventive Measures |
| Intermittent connectivity |
|
| Excessive noise |
|
| Poor signal transfer |
|
But by far, the best way to increase your chances of an infallible performance starts with investing in the right high-quality XLR cables.
At Geek Stands, we’ve put our years of experience to work, and leveraged our partnerships with the best XLR microphone cable brands, to bring you affordable high-quality microphone cables at the most competitive prices.
"For the price of these cables, you can't go wrong. Have had no problem with noise or interference. Would buy again." — Terrence Bergstrom
So why not join him, and visit our online store to explore our vast collection of XLR cables and music equipment. Feel free to get in touch with any questions and let us know how we can help.
0 comment